P5.JS PROJECTS

coding
These are the projects I completed in the art101 course, all of which are code that I completed through p5.js

PROJECT 1

In this project, I created an interface design for a game chat software. I combined the software usage styles of discord and op.gg as inspiration to design this software. The main function of this software is to find players online to play games with, and to find suitable players to play with by clicking on their icons to see their game history. You can also search for more players by using the online search function. I referenced scenemanager.js, sound.js, and I created a total of eight scenes, five of which show the player's profile, one of which is the earliest start page, one of which is the main page of the software, and one of which is the search page for players. I added a combination of rectangles and text to act as buttons to transform the scenes. Clicking on all buttons and player icons will result in a button change animation, but only clicking on "back", "search", and the five main player avatars will For example, if you click on the "back" button, you will return to the main page of the software, if you click on the "search" button, you will switch to the search page, and if you click on the five different player icons on the home page, you will switch to the player's personal profile page. I've also added a message alert and a mouse pressed alert.
Code for project 1


PROJECT 2

Video for project 1
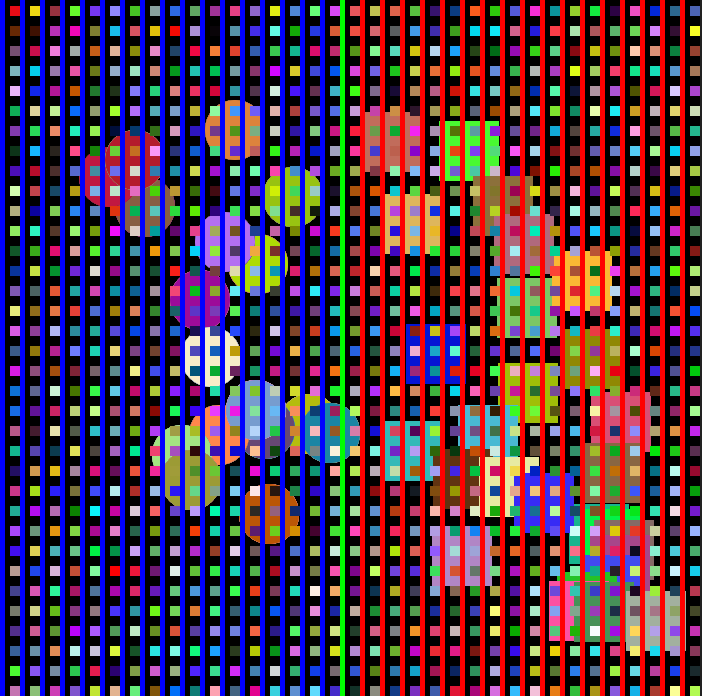
In this project, I used the basic create graphics command to create a dynamic image. By moving the mouse, a circle will appear on the left side of the canvas and a square will appear on the right side

PROJECT 3

VIDEO FOR PROJECT 2
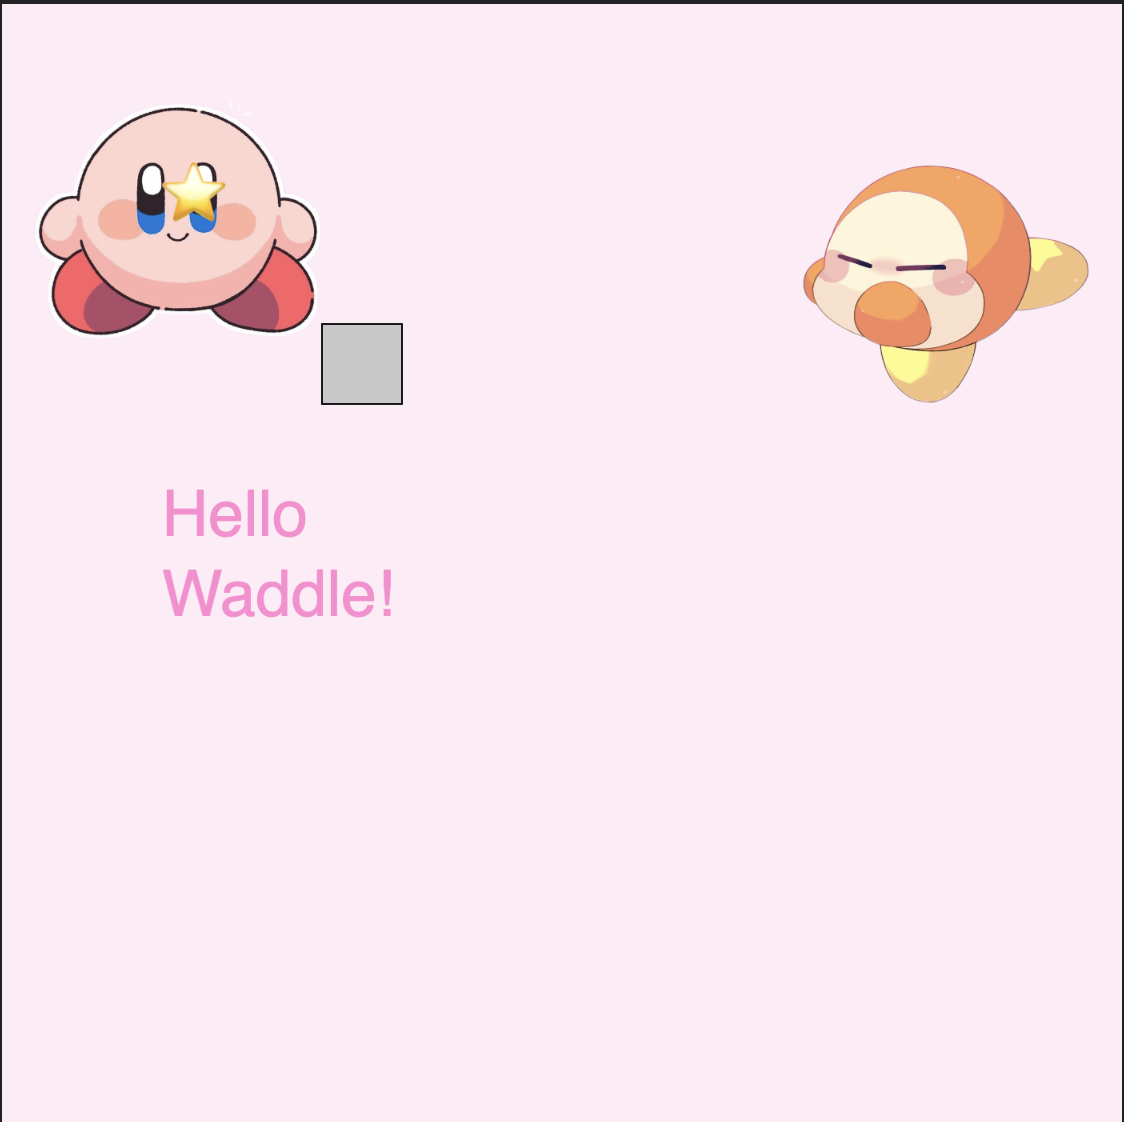
In this project, , I set up two of my favorite cartoon characters as the main pictures in the canvas. I set up commands about the mouse and keyboard to control the movement of the pictures and trigger the text to appear on the canvas. I also set up a square and changed the color of the square by pressing the keyboard.

(Description)w:up /s:down /a:left /d:right /q:change the square color. /1:change Character /move Character to star → text appears → press mouse, 2nd text appears.
Code for project 2


PROJECT 4

VIDEO FOR PROJECT 3
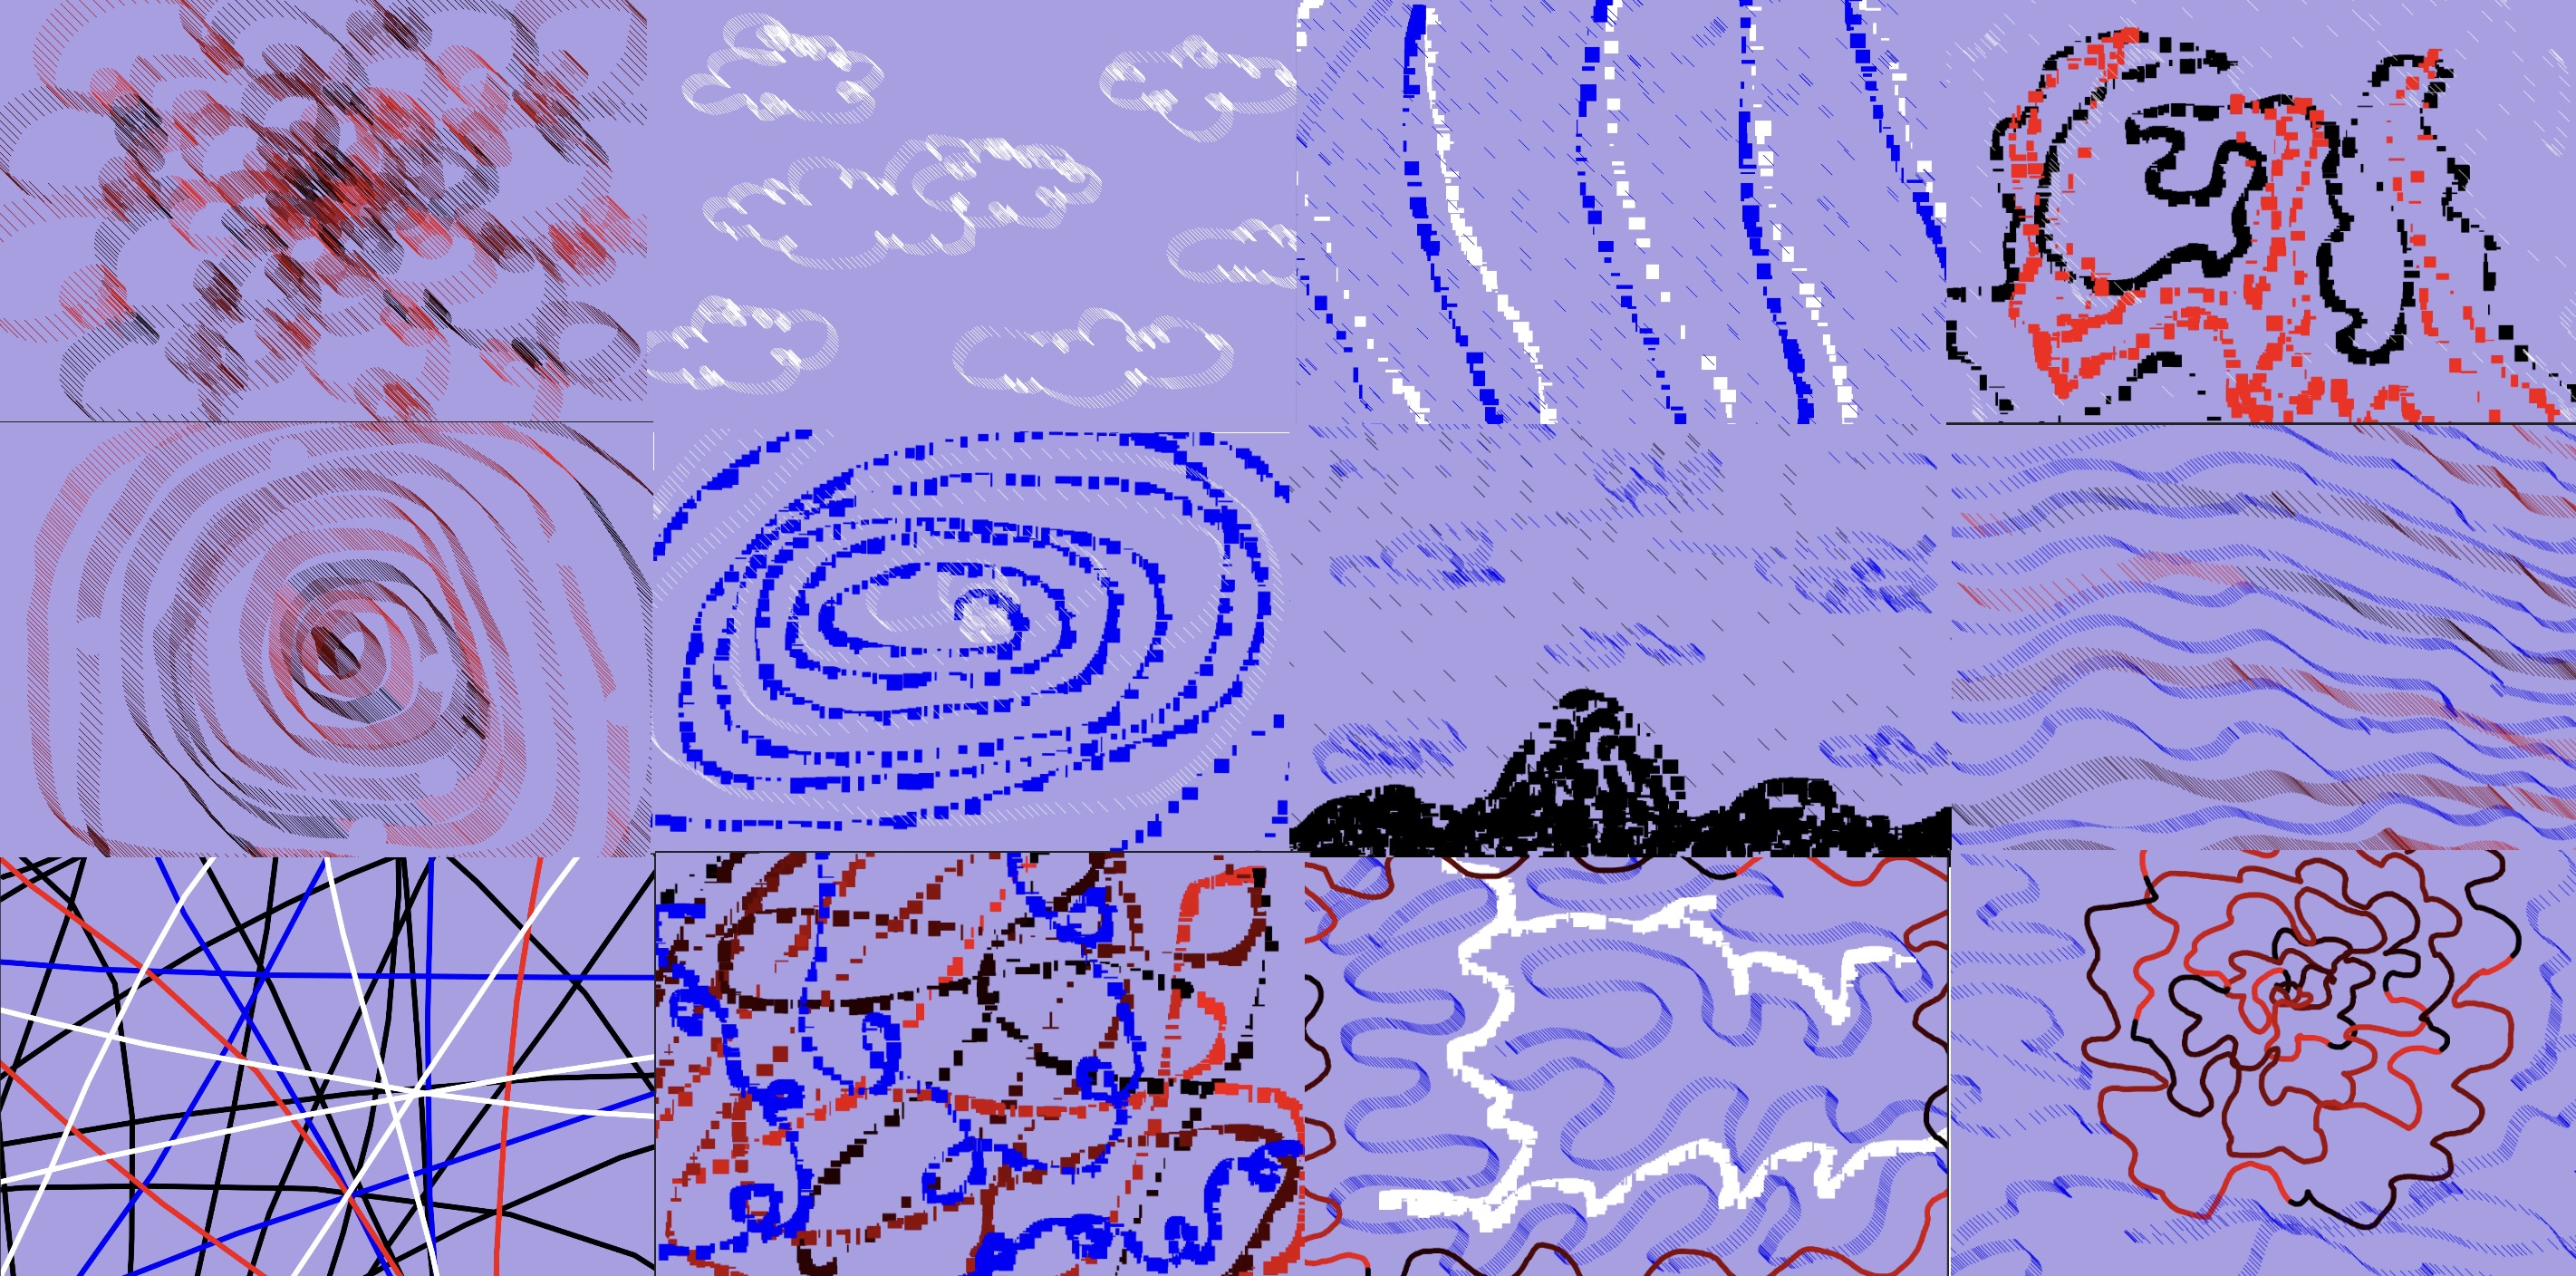
In this project , I set up three brushes, the first is the most basic line brush, the second is an irregular square brush, and the third is a diagonal brush. I also set the command to switch brush colors by pressing the keyboard. Although there are not many colors set, I also wanted to set a separate button to switch brush colors closer to a painting software than to set a single color brush. I really like the brushes I set up and the final artwork. The overall work is on the abstract, but I like it a lot, especially the first one.

(Description)1:line brush /2:square brush /3: slant line brush /4:eraser /q:change color to blue/ w:change color to red / e:change color to white/ r:change color to gradient red/ ps:Each time you change the brush color, you need to click the brush button again.
Code for project 3


PROJECT 5

VIDEO FOR PROJECT 4
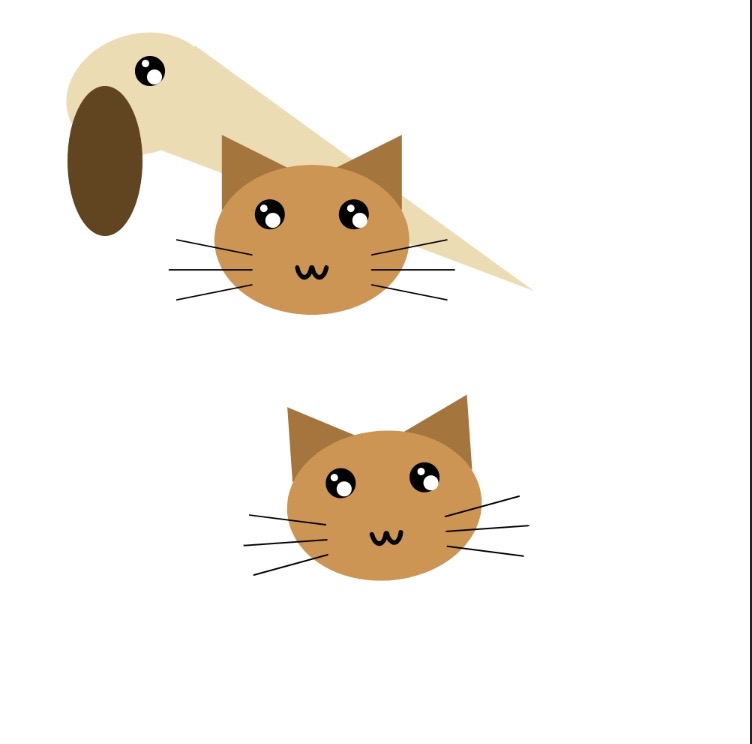
In this project, I created two 'Parent' functions, a dog and a cat. The dog's nose can be controlled by moving the mouse, and the cat can be rotated by following the mouse. The dog and cat functions also include 'child' functions, which have eyes, mouth, etc.I also created a cat that bounces back in the canvas uncontrolled.
Code for project 4


PROJECT 6

VIDEO FOR PROJECT 5
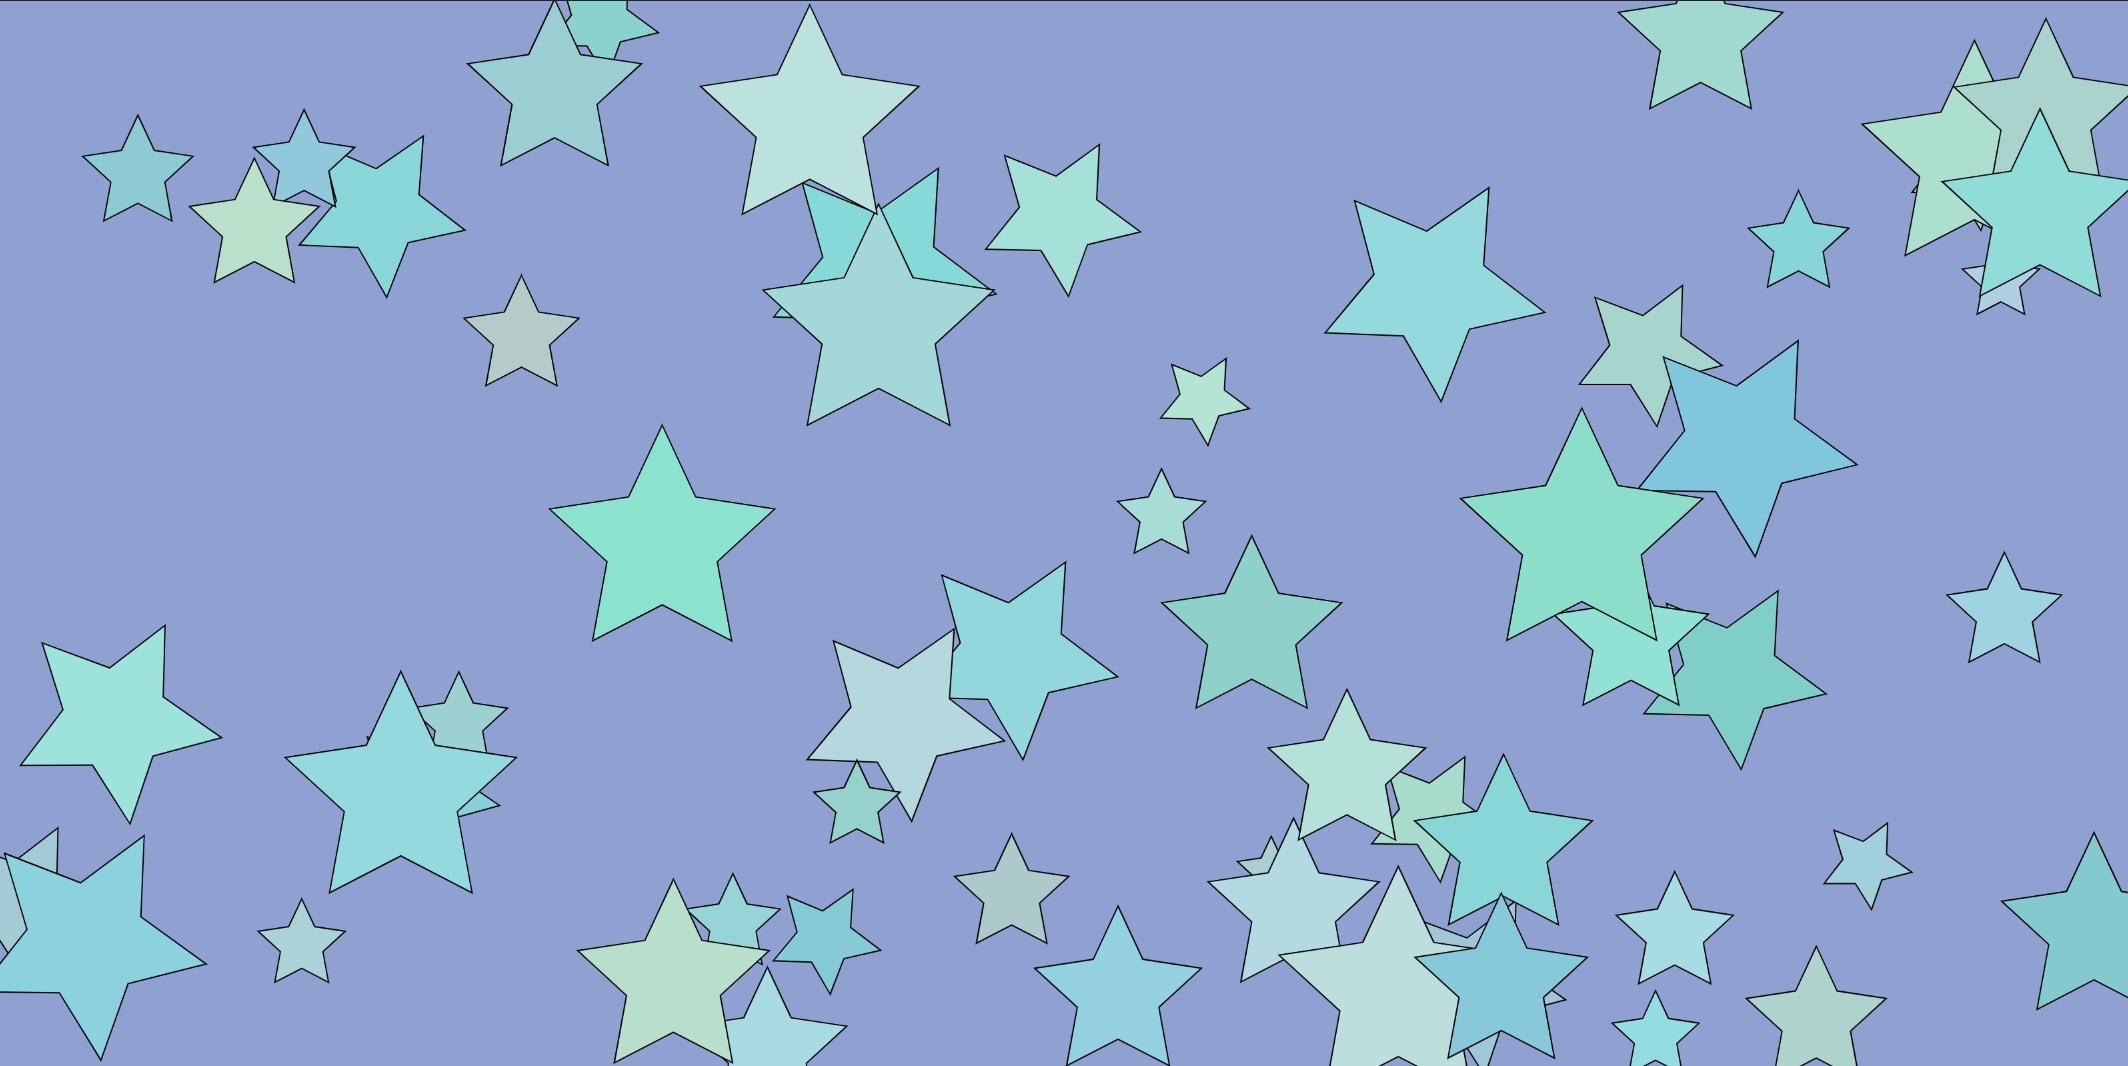
In this project, I created a class named QD star, and I created three separate methods in this class. The three methods are drift, blink, and rotation.You can see a dynamic starry sky in this exercise, and I am more than satisfied with the final result of this exercise.
Code for project 5


PROJECT 7

VIDEO FOR PROJECT 6
In this project, I used the Sine Wave and Noise Wave algorithms, as well as the star algorithm I created in Exercise 4. I combined these three algorithms together to create an animation with variations, in which you can see the shades of the stars and the other two Algorithms together. At first we had a complete understanding of the goal of the project, and after listening to the professor's comments, I improved the animation, hoping that it would be more relevant to the theme of the project.
Code for project 6